Accessible 3D Printing [Repost from my UT Blog]
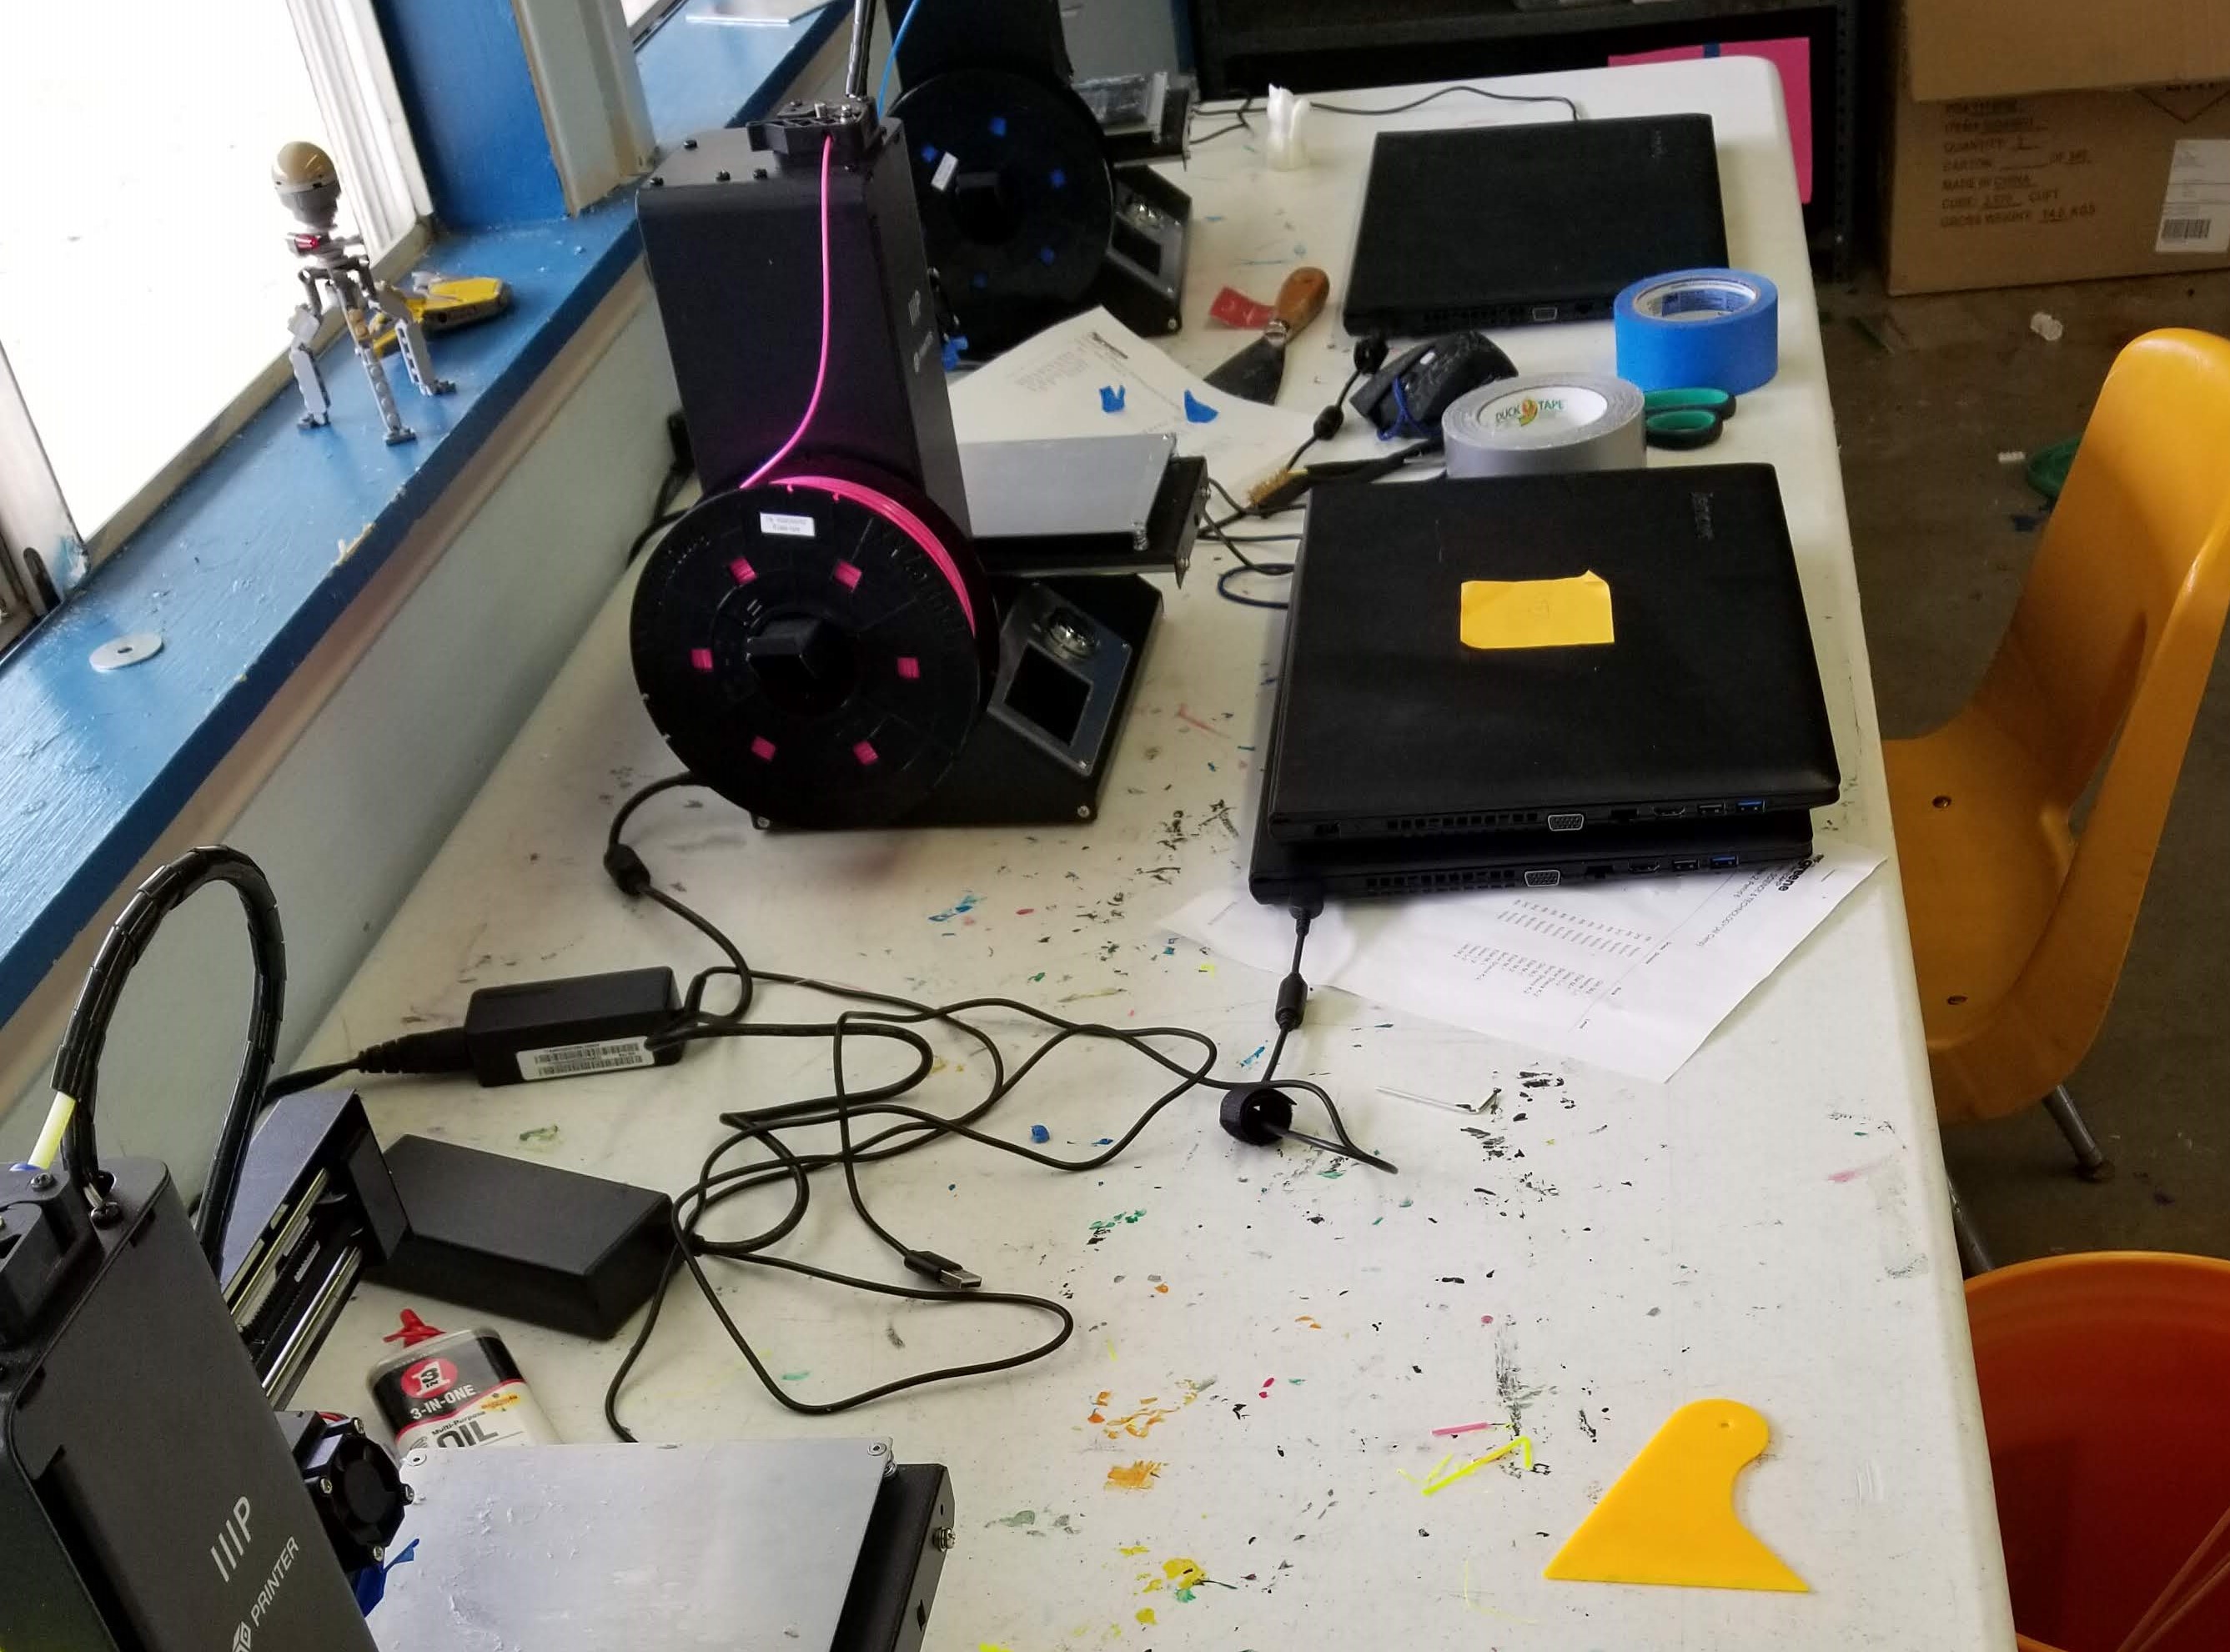
3D Printing is a great way to introduce kids to engineering/3D design, but of course a great challenge for any teacher is the cost. For my summer job, I am a STEAM (STEM + Art) activity specialist at Greene Family Camp, and we were able to purchase 3 new 3D Printers to bolster our program. I have been impressed with the 3D printers we bought, even more so due to how inexpensive they are, being $200-220 for a fully assembled unit. The units we bought, and the one I have at my home, are of the Monoprice Select Mini line (I have a V1, the camp printers are V2).
These printers are well designed, and since they have a heated bed are able to print in PLA & ABS. I think that this price point and relative ease of use could make these a welcome addition to classrooms, but it is important to note that any 3D printer will require a significant time investment to calibrate and to set up properly. For these Monoprice printers, they will never arrive with a leveled bed, and setting up the control software is not always easy.
To set up our 3D Printers at camp; I followed this guide to bed leveling, installed Cura to use as the slicer, and downloaded Pronterface to use to control the printer. Unfortunately, the computers we have at camp do not read Micro SD cards reliably, so we use Pronterface to send instructions to the printer over a usb connection. Cura is not the best program I have ever used, but it gets the job done (I don’t trust it for supports though). Of course I like Pronterface because of its name, but mostly because it is incredibly reliable.
Quick tip that I wish I knew a week ago, if you are trying to print in ABS, you will want to cover the vent which blows air over the print, as ABS should be allowed to take as long as possible to cool off, or else the plastic will not fuse to other layers or the print bed.